
We have covered how to make your own design, how to pick out your color palette, and today we reach the final portion of the series—picking your stitches!
So now comes the part where the magic actually happens, but I know it’s also the part where that little voice in your head starts whispering, “What if I ruin it?”
But let me tell you a secret: You aren’t ruining anything, you are learning how to be a better stitcher because of it!
I’ve been doing this for over 12 years, and I still stitch my designs anywhere from three to five times before I’m happy. Each time I restart, yes it can cause some frustration to rise but then my husband always lovingly reminds me this is just part of the process. Sometimes the color is off, and sometimes the stitch just doesn’t “plug in” the way I thought it would, but each time I am learning how to better pick my colors and my stitches.
Okay, so! Let’s walk through how to choose your stitches so you can take off on your own!
1. Look for the "Flow"
Similar to what we were looking for in our colors, you have to think about what you want the design to feel like. Is this whimsical and flowing? Or is this more structured and serious? What stitches can help you accomplish that feeling?
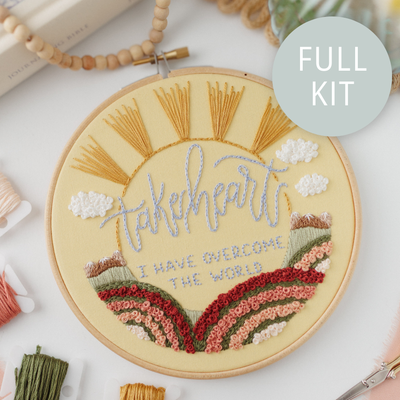
In our recent Easter stitch-along, I was working on the sun position of the design and knew I wanted it to feel like it was bursting forth. My first instinct was a series of back split stitches. But as soon as I saw it on the fabric, I realized it felt too "broken up." It was choppy, not fluid. I ended up pivoting to a series of long and short straight stitches. That change alone gave the sun the radiant look I was going for.
The Takeaway: If a stitch feels like it’s "interrupting" the movement of your design, it probably is. Don’t be afraid to pull it out and try something else.
2. Match the Stitch to the "Job"
Sometimes we can get bored with using the same stitches over and over again, but you don’t need to reinvent the wheel for every design. Most elements have a "natural" stitch that simply makes sense. So while you could use a French knot for a leaf, a fishbone stitch will always capture that leafy structure much better.
Here is my mental "go-to" list when I start a project:
-
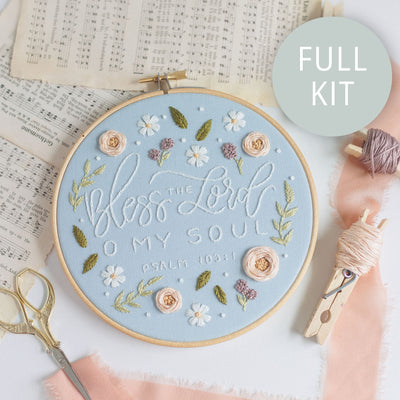
Flowers: Think dimension. Woven wheels, French Knots, Satin stitches are all my go-tos.
-
Leaves: Fishbone is almost always the answer for that perfect shape.
-
Grass: Seed Stitch
-
Text: Back Split Stitch and Back stitch always allow for easy to read words!
-
Large Sections: When filling large sections you could use stitches such a satin, back split, or brick stitch.
3. The Secret to Fluid Text
If there’s one area where most stitchers struggle, it’s lettering. The "secret" isn't a magical stitch—it’s stitch length.
Text requires a combination of back split stitches and back stitches. The trick is learning when to stretch your stitches longer on straightaways and when to keep them tiny on the curves. If your text looks "blocky," your stitches are likely too long for the turn you’re trying to make.
4. Don’t Be Afraid to Restart
I’ll be honest: I don't like removing large sections of stitches. It can often compromise your fabric and will make your second set of stitches on top not look nearly as good. So rather than ripping the stitches out, I often restart the project.
That might sound like a waste of time, but it’s actually a great way to learn. Each version is you learning a little bit more and more. You’re learning which colors work together and which stitches "plug in" best to your design elements. In addition to that you are simply getting more time to practice your stitching!
Final Thoughts
You have your design, you have the colors, and now you have the knowledge to start picking your stitches.. The only thing left to do is start. Don't let the fear of a "wrong" stitch keep you from the joy of creating something from scratch. Even after 12 years, I'm still learning, pivoting, and growing right alongside you. Trust the process and be patient with yourself. I can’t wait to see what you make!