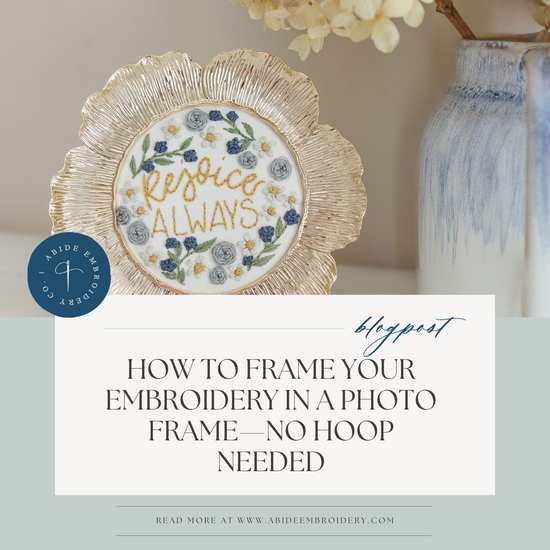
Okay friends, I tried something new recently—and while it’s not my go-to framing method, it actually turned out pretty lovely! If you’ve ever wanted to display your embroidery in a traditional photo frame (instead of a hoop), this little DIY might be a helpful starting point.
Full disclosure: this was my very first time doing this. I was completely winging it—no fancy tools, no Pinterest-perfect plan. Just me, a glue gun, and a cardboard box. There are probably more “professional” ways to do this, but if you’re looking for a quick, no-fuss option, here’s what I did!

What I Used:
-
My finished embroidery (stitched on cotton)
-
A regular photo frame (glass removed—not necessary, but helps keep those fluffy stitches stay fluffy!)
-
A cardboard box (the thickness will depend on your photo frame)
-
Hot glue gun
-
Scissors or box cutter
How to Do It:
-
Prep the embroidery.
Remove the completed design from your embroidery hoop. Optional: Give it a quick press with the iron (face-down on a towel) to smooth out any creases. -
Trace the frame opening.
Grab a box and trace the glass (or the frame’s opening) onto it, and cut out the shape. Next, trim it down just a bit more so the fabric can wrap around the edges without making it too tight to fit into the frame. -
Test the fit.
Before moving on, it's best to pop the cardboard into the frame to make sure it fit snugly. -
Trim the fabric.
To avoid glueing down tons of excess fabric, trim the fabric just a little so to leave enough fabric to fold over the back of the cardboard. -
Center the embroidery.
Check your progress! Lay the embroidery down on your cardboard and check to make sure it is centered on the cardboard. -
Hot glue the fabric down.
Once you are centered, carefully flip the design off and start to glue. I personally I started with the opposite sides (left + right) to keep the tension even and the design centered. Then I worked my way around. Be careful NOT to pull the fabric too snug. I had to redo this part 3 times because I kept pulling the fabric too hard and the fabric would no longer be centered in my cardboard. So as you do this be sure to check the front every few glue spots to make sure it still looks straight. -
Frame it up!
Once everything was glued down and dry, pop it into the frame—without the glass. You definitely don’t want the stitches getting smooshed! This will take some effort because it'll be snug, but once it's in place be sure to secure the back portion of the frame.
A Few Honest Thoughts:
-
I love the elegant look of embroidery in a photo frame. It’s clean, minimal, and looks beautiful on a shelf or gallery wall.
-
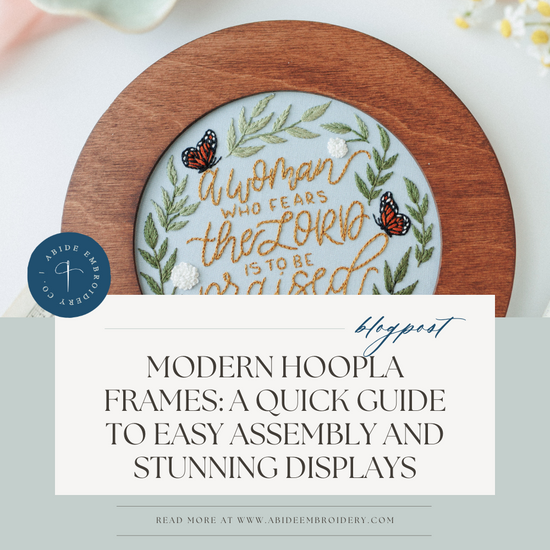
But—real talk—you just can’t get the fabric quite as tight as you can when it’s mounted in a hoop. That’s why I still love our modern hoopla frames a little bit more. They give your stitches that crisp, drum-tight finish, which just makes everything feel a bit more polished.
-
That said, this is a great alternative—especially if you want to gift a piece, match it to your home decor, or just try something different.
Want to watch a video of the process? Check that out below!
So if you’ve been thinking about framing your embroidery outside the hoop, I say go for it! Grab some cardboard, warm up the glue gun, and don’t be afraid to wing it like I did. Though, maybe try on our free design first before jumping into a project that took 12 hours ;)


1 comment
Thank you for posting such a lovely and thorough example, inspiration. The popularity of framing within a very unstylish wooden embroidery hoop is not favoring or accenting anything of the handiwork. Your example, promotion of taking a little initiative to finish off a piece is wonderful. Thank you.